A Paean to Pie
Growing up in the Midwest farmland of the 1950s meant that I was living in the pie capital of the world. In most homes, it was the dessert of choice. In my grandmother’s time, pie suppers, where the local bakers’ specialties were auctioned off, were the prime way of raising funds for the one-room schoolhouses that dotted the landscape. Those small schools pretty much disappeared in the middle of the 20th century.
In the 1950s, you might find a peach or blueberry or rhubarb pie, or a chiffon pie with a filling made with flavored gelatin folded into beaten egg whites and topped with whipped cream. In 1965, The Farm Journal Best-Ever Pies opens with the declaration that pies are America’s favorite dessert – “more pie is consumed in the United States than anywhere else in the world!” My favorite was my mother’s cherry pie, although she made a mean apple pie, as well.
Pie for breakfast, lunch, or dinner
Whatever the filling, the crowning glory was in the pastry. Diners may have commented on the overall flavor, but the big kudos always went to the crust. Was it flaky? Tough? Light? In any event, what I’ve found over the years is that once you have mastered pie crust, the rest is easy as pie. Not just apple or cherry but also pot pies, quiche, pasties, and appetizer pockets. Or how about a simple galette? And there’s just nothing like the aroma of a pie baking in the oven, no matter what the filling.
Pie-making is a precise operation, and a great pie crust requires attention to details. That’s what I learned watching my mother and grandmother over the years: pie makers had their secrets. My mother had hers. She was also particular about her ingredients.
Farmboy’s technique
The key to good pie crust is to create a medium where distinct chunks of butter or fat join with flour, both held together with just enough water. In a hot oven, those layers of butter or fat emit steam that creates pockets of air that form into layers of flaky pastry. That’s why it’s easy as pie.
Although my grandmother used lard, my mother swore by Fluffo, an iconic golden-colored vegetable shortening. I’ve made my share of pies and pastry. I like to add a bit more flavor by using a mixture of unsalted butter and shortening for the fat portion of the mix. Keep the butter cold and cut it into just small-enough bits. When the magic happens in the oven, the flavor of the butter remains. Here’s how I make my pie crust. This recipe is for a two-crust pie.
Ingredients need to be measured carefully to preserve the ideal balance of flour, shortening, and liquid. Use the right measuring cups: nested cups for dry ingredients, allowing you to level off the top to get the right amount, and for liquid, a glass or plastic cup with a spout and ounce measurements on the side.
Keep cool
Mixing needs to be minimal, because the goal in making a flaky pastry is to prevent the gluten in the flour from developing. Too much water develops too many gluten strands, which translates into a sticky, tough pastry. I recommend using a pastry blender to cut in the butter and shortening to make sure the fat is distributed evenly throughout the flour. You can use a Cuisinart with a pastry blade, which might be easier, but it’s too easy to overdo the mix. Mixing by hand will help you get familiar with how the pastry should look and feel. Then carefully add ice water, which helps to keep the fat cold. Sprinkle the water over the crumb mixture a tablespoon at a time. Too much water creates gluten and makes the crust tough. Too little and the dough will crack at the edges and will be harder to roll out and transfer to the pie pan. Don’t overhandle the dough, because particles of fat could melt.
Divide the dough into two balls and roll out each ball individually on a lightly floured surface – a good use of that nice cold marble counter? I use a large pastry board or large wooden carving board. Roll the dough into a circle about three inches larger than your pie pan. Fold carefully in half, then lift and drape it gently into the pie pan and ease it carefully into the corners.
For best results, use a heat-resistant glass, ceramic, or dull metal pie pan to absorb heat so that the crusts brown perfectly. (Shiny metal pans tend to reflect heat and produce a soggy crust.)
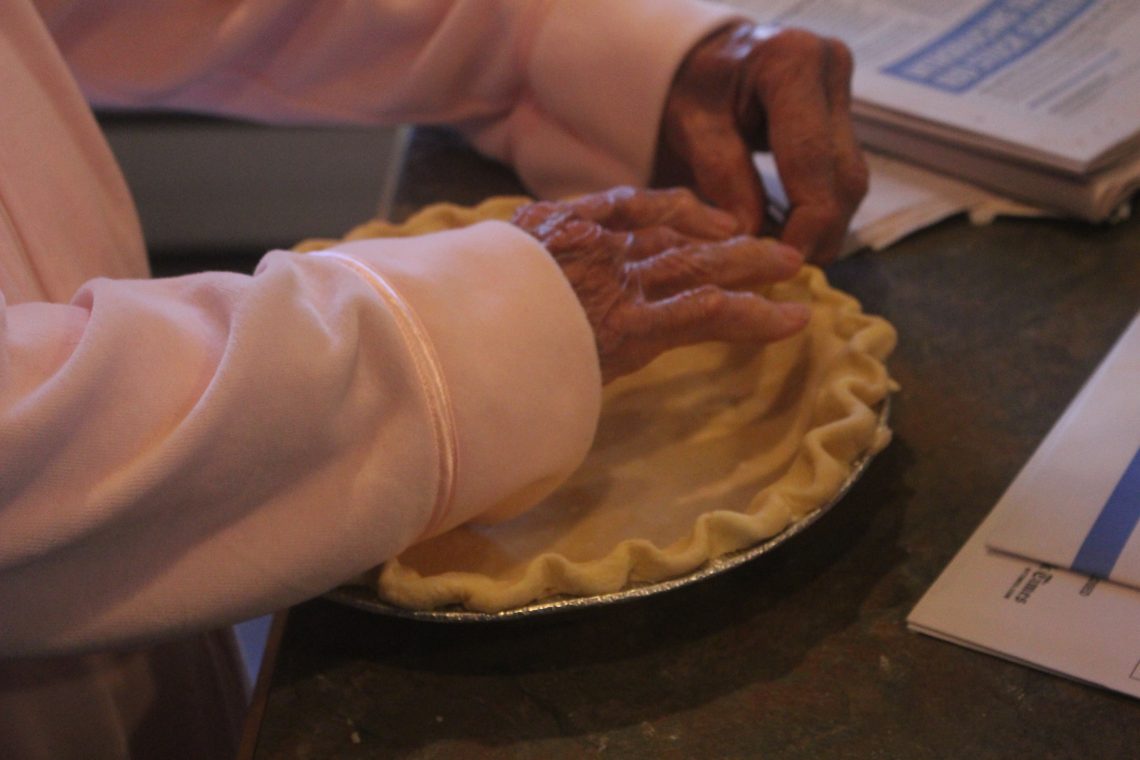
If you’ve done well here, the rest is simple. Add your filling, drape the top crust over it, crimp the pastry edges together with your thumb and forefinger, and make a few small incisions in the top to release the steam. Preheat your oven. Check the recipe to make sure the temperature is correct before putting your pie on the center rack in the oven. If you’re baking more than one pie at a time, make sure you leave enough space between them and the sides of the oven to let air circulate.
Cool baked pies on a wire cooling rack so that air can circulate under the pie and prevent sogginess. And, by the way, please save me a piece.
To comment, please click on “Read in Browser” or on the headline to view the blog on the website. You can log in and comment at the end of the blog to share your thoughts and start a discussion.
If you’d like to share the blog, click on the Facebook icon or one of the others. Thanks!


One Comment
Chuck Kennedy
This has nothing to do with pies; it has to do with nostalgia for the two years I lived in Iowa. What brought it to mind was your mention of “rhubarb”.
I happened to stop in a general store in Amana one day. They were having a “special” on rhubarb wine. Never having tasted it, I bought a bottle. When I got home in Des Moines, I opened it, and shared it with my housemates. Our judgment was unaminous: it was the absolute driest wine we had ever tasted… so dry that I thought it was sucking moisture from my body!
Then I had an idea. I made a martini substituting rhubarb wine fo the standard vermouth. It was very good! Unfortunately I have never found rhubarb wine since I left Iowa.
Chuck